Recommended Pedals
The essential Looper pedals to know about
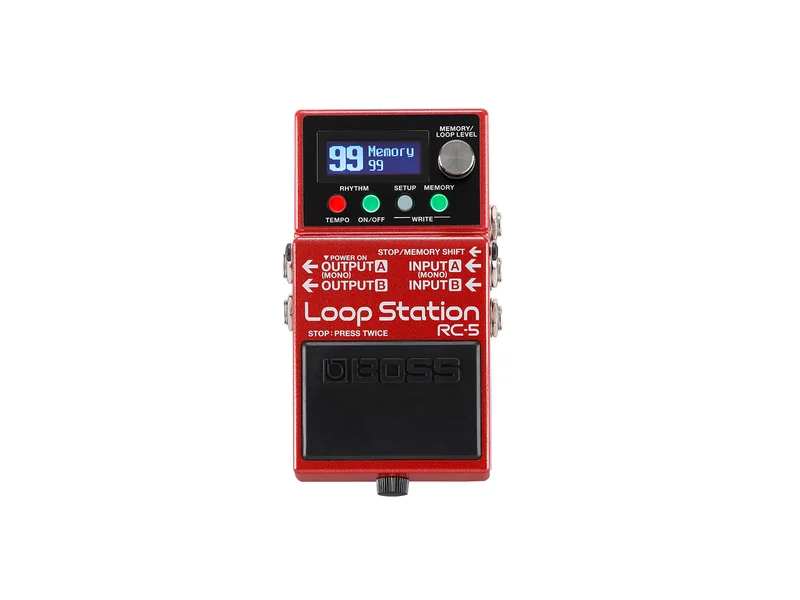
Boss RC-5 Loop Station
99 memory slots, rhythm patterns, USB connectivity, and legendary Boss reliability. The most feature-complete looper in its price range. Perfect for players who want to build complex arrangements.
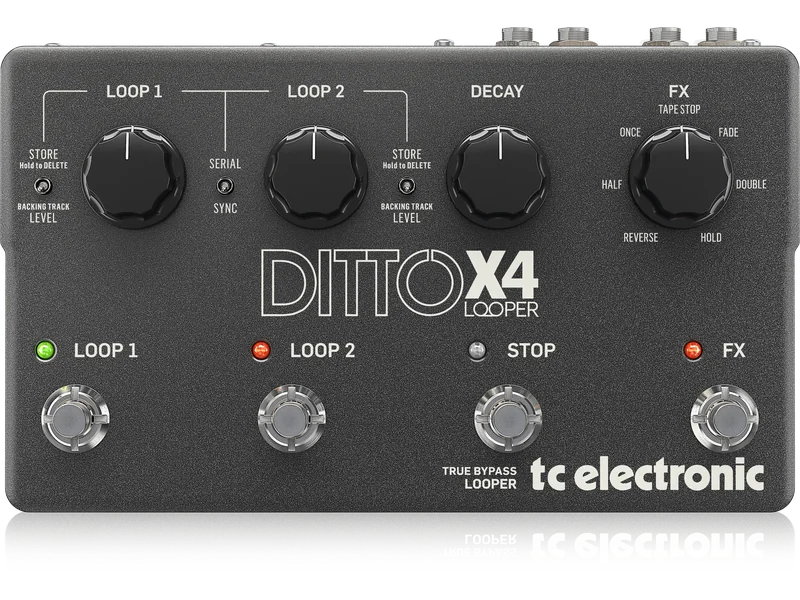
TC Electronic Ditto Looper
True bypass, analog dry-through, five minutes of looping. Simple one-knob interface. The standard for practice and casual looping. Does exactly one thing and does it well.
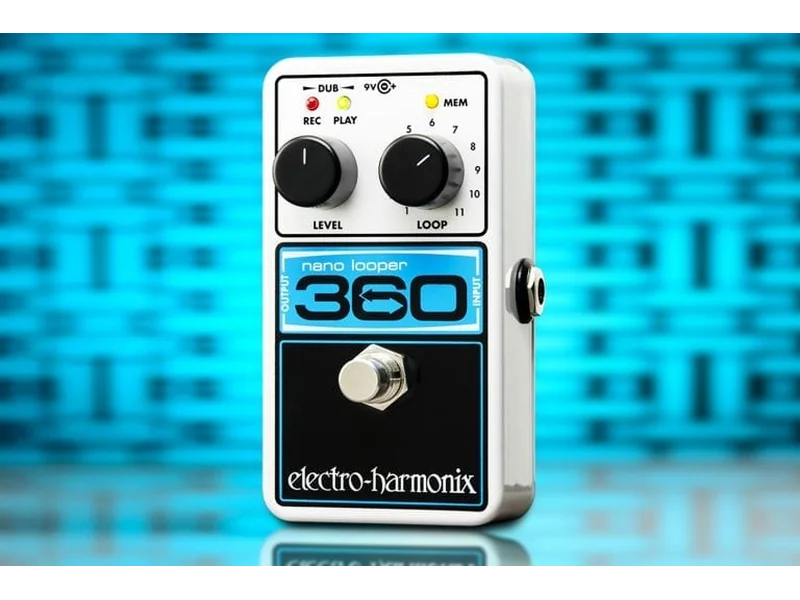
Electro-Harmonix 360 Nano Looper
Unlimited overdubs, up to 6 minutes of recording, 11 memory slots. The choice for experimental and ambient performers who need maximum creative freedom in a compact pedal.
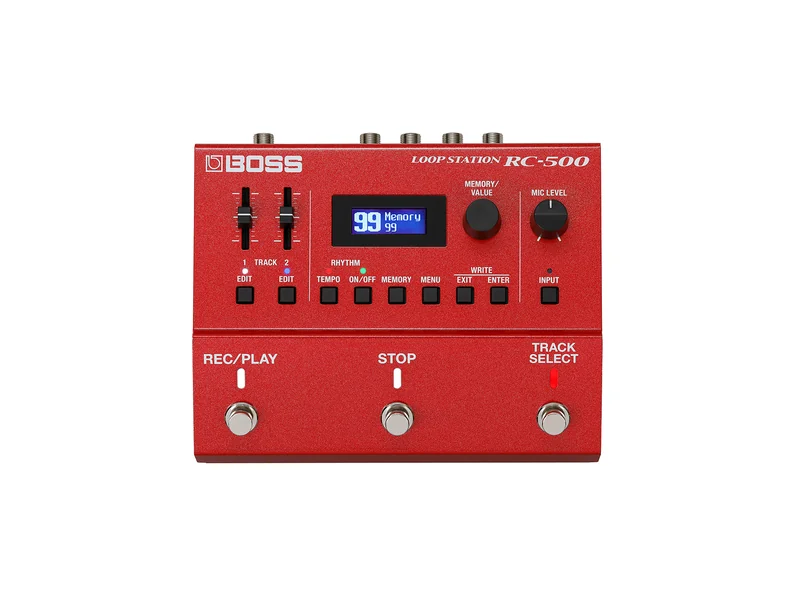
Boss RC-500 Loop Station
Two simultaneous loops, extensive I/O, MIDI control, XLR input with phantom power. The professional choice for recording and complex live performance.
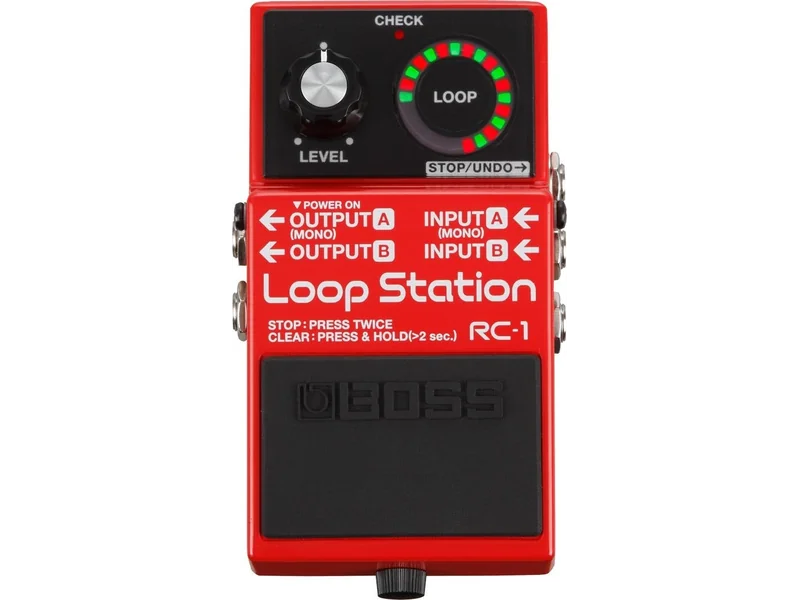
Boss RC-1 Loop Station
Straightforward operation, 12 minutes of recording, simple LED display. The easiest looper to learn on. Perfect entry point before upgrading to more advanced models.
Loopers transform the solo guitarist from a single voice into an entire band. Record a rhythm part, loop it, then play lead over the top. Record bass, then chords, then melody—layer by layer, you build complete arrangements in real time. Loopers are no longer novelty gadgets; they are legitimate performance instruments used by professionals across every genre. Whether you're practicing at home, writing songs in your bedroom, or performing live to audiences, a looper pedal expands your musical possibilities in ways nothing else can. Understanding how loopers work—and which one fits your needs—opens doors to musical creativity you may never have imagined.
Understanding Looper Basics: Record, Play, Layer
At its core, a looper records audio, stores it in memory, and plays it back continuously. You record a loop (the length you determine), then the looper plays that loop endlessly while you perform over it. The magic happens when you add more layers—each new recording adds to what's already playing, building rich, complex arrangements in real time.
The Fundamental Workflow
Every looper follows the same basic pattern:
- Record (REC): Press and hold (or stomp) to start recording. Everything you play gets captured.
- Stop (STOP): Press again to stop recording. The loop immediately begins playing back.
- Play/Overdub (PLAY): Press to play the loop back. Press again while playing to add a new layer (overdub).
- Undo/Redo: Remove or restore the last overdub layer.
This simplicity is what makes loopers accessible. But within this framework lies enormous creative potential.
Loop Length: Finding Your Sweet Spot
Loop length determines how much you can play before the loop repeats. This is one of the most important settings:
Short loops (4-8 seconds): Great for rhythmic patterns, short melodic phrases, and building tension. Requires precise timing but creates driving, repetitive grooves.
Medium loops (8-16 seconds): The most versatile range. Enough space for chord changes, verse/chorus structures, or complete phrases. Forgiving of minor timing variations.
Long loops (16+ seconds): Complete song sections or ambient textures. Requires memory management and careful planning. Excellent for atmospheric, experimental playing.
One-Shot vs. Free Looping
One-shot loops play once then stop at the end. Useful for triggering specific samples or phrases.
Free looping plays continuously until you stop it. This is the standard performance mode—your loop runs until you decide to end it.
Types of Loopers: Choosing Your Architecture
Loopers come in different configurations, each with trade-offs.
Single-Loop Pedals
One loop at a time. Record, play, overdub. Simple, focused, no complexity.
Best for: Beginning loopers, practice, simple performance.
Example: TC Electronic Ditto, Boss RC-1.
Pros: Easy to learn, affordable, straightforward operation.
Cons: Limited creative options, can't have multiple sections.
Multi-Loop Pedals
Multiple loops that can play simultaneously or sequentially. Create complex arrangements with different sections.
Best for: Advanced performers, song-based looping, complex arrangements.
Example: Boss RC-500 (two loops), Electro-Harmonix 720 (unlimited overdubs).
Pros: Maximum creative flexibility, song sections, layered arrangements.
Cons: More complex to operate, higher cost, learning curve.
Loopers with Rhythm
Built-in drum patterns, metronomes, or backing tracks. Keep time while you loop.
Best for: Solo performers, practice, playing with a beat.
Example: Boss RC-5, Boss RC-10.
Pros: Always in time, professional sound, practice tool.
Cons: Patterns may not fit your style, added complexity.
Key Features Explained
Memory Slots
Memory slots store different loops. One slot might be your verse progression, another your chorus, another a completely different song. Switch between them instantly during performance.
Why it matters: If you want to build a repertoire of loops or create set-length performances, memory is essential.
Recommendation: Minimum 10 slots for regular use. Boss RC-5 offers 99 slots—room for an entire set.
Recording Time
How much audio you can record total (across all loops or per loop).
Why it matters: Longer recording time allows longer loops, more overdubs, or more complex arrangements.
Recommendation: Minimum 5 minutes for casual use. 10+ minutes for serious looping.
Undo/Redo
The ability to remove your last overdub without losing the entire loop. This is essential for performance—you make a mistake, you undo just that layer, not everything.
Why it matters: Without undo, one bad overdub ruins the whole loop. With undo, you experiment freely.
Recommendation: Non-negotiable feature. Every serious looper should have it.
Tempo Sync
Matching your loop length to a specific BPM. Tap tempo or direct BPM input.
Why it matters: Loops that drift from tempo are noticeable and distracting. Syncing keeps everything locked.
Recommendation: Essential for playing with other musicians or backing tracks.
Rhythm/Drum Patterns
Built-in drum beats that play along with your loop. Various styles, usually adjustable tempo.
Why it matters: Makes solo looping sound complete. Provides groove and structure. Practice tool.
Recommendation: Highly recommended for performance. The Boss RC-5 has excellent patterns.
MIDI Control
External control via MIDI—trigger loops, switch memories, sync with other gear.
Why it matters: For complex setups, MIDI enables hands-free operation. Syncs with DAWs, sequencers, other pedals.
Recommendation: Essential for professional/integration needs. Optional for simple setups.
USB Connectivity
Computer connection for audio export/import, firmware updates, or DAW integration.
Why it matters: Save your loops, load new ones, update pedal firmware.
Recommendation: Useful for recording workflow. Not essential but convenient.
Signal Chain: Where Loopers Belong
Looper placement affects both your dry tone and the looped sound.
At the End of Your Chain
The most common placement—looper receives your fully processed signal.
Pros: Loop includes all your effects. Full, complete sound. What you hear is what loops.
Cons: If your chain is noisy, noise gets looped too. Can't change effects after looping.
Before Time-Based Effects
Place looper before delay and reverb.
Pros: Clean loops with effects added on playback. More flexible—add different effects to different loops.
Cons: Requires separate dry signal path or monitoring setup. More complex.
Using the Looper's Effects Loop
Advanced loopers have their own effects loop for processing just the looped signal.
Pros: Process loops differently than your live playing. Maximum flexibility.
Cons: Most loopers don't have this feature. Requires understanding of signal flow.
Creative Looping Techniques
Layer Building
The foundation of looping. Record a part, then layer more parts on top.
Approach: Start with drums or rhythm. Add bass. Add chords. Add melody. Each layer should be something you'd hear in a full band.
Tips:
- Record simple, solid foundation parts first
- Each new layer should complement, not compete
- Leave space for new layers—don't fill every moment
- Vary your layers: rhythm, melody, fills, solos
Call and Response
Loop one phrase, then respond with another.
Approach: Record a question (4-8 bars), let it loop, then play an answer over it. Change the answer while the question loops.
Tips:
- Works great with shorter loops (4-8 seconds)
- Think of it as musical conversation
- Experiment with different answers to the same question
Ambient Textures
Create atmospheric soundscapes with long loops and lots of overdubs.
Approach: Long loops (30+ seconds), lots of space, reverb-heavy playing. Build slowly, let sounds fade naturally.
Tips:
- Use long decay times on your playing
- Don't rush—let textures develop
- Sometimes less is more
- Consider loop decay/fade features
Rhythmic Looping
Create driving, groove-based performances with tight loops.
Approach: Short loops (2-4 beats), precise timing, layered rhythmic patterns. Build intensity through variation.
Tips:
- Practice with metronome first
- Keep each layer simple
- Vary patterns while keeping groove consistent
- Use drum patterns if available
Song Form Looping
Create complete song arrangements with verse, chorus, bridge.
Approach: Use multiple memory slots or loop sections. Different loops for different parts. Switch between them during performance.
Tips:
- Plan your arrangement in advance
- Make loop transitions smooth
- Practice switching between sections
- Consider quantize features for timing
Practice Applications
Loopers are incredible practice tools, not just performance instruments.
Tempo Training
Loop a section at a slow tempo, then gradually increase speed.
Benefits: Build speed progressively. Internalize proper timing. Identify trouble spots.
How to: Record 4-8 bars at a tempo you can play cleanly. Play along at that tempo. Increase tempo by 5-10 BPM. Repeat until at performance tempo.
Section Practice
Loop song sections to practice specific parts.
Benefits: Focus on difficult sections. Practice transitions. Build stamina.
How to: Identify the section you struggle with. Loop just that section. Practice it repeatedly with fresh attention.
Ear Training
Loop melodic phrases and try to identify intervals, scales, or chords.
Benefits: Develop your ear. Internalize musical relationships.
How to: Play a note or short phrase. Let it loop. Sing intervals above or below. Verify with your guitar.
Improvisation
Loop chord progressions and improvise over them.
Benefits: Practice solos in a musical context. Develop vocabulary. Learn to land on chord tones.
How to: Record a I-IV-V or ii-V-I progression. Solo over it. Try different scales, arpeggios, phrases.
Recording Practice
Record yourself and listen back critically.
Benefits: Identify timing issues, note choices, expression problems.
How to: Play a section. Listen. Take notes on what to improve. Try again.
Performance Considerations
Building a Looping Performance
Don't just loop randomly—plan your performance.
Steps:
- Choose your songs/sections
- Determine loop lengths needed
- Plan the build order for each loop
- Practice the transitions
- Rehearse the full performance
Handling Mistakes
Mistakes happen. How you handle them determines your performance quality.
Options:
- Undo: Remove the bad layer, try again
- Stop and restart: Clear the loop entirely, start over
- Keep going: Sometimes mistakes become part of the performance
- Recovery phrase: Have a fallback phrase that always works
Creating Dynamic Performances
Static looping gets boring. Create interest through dynamics.
Techniques:
- Start sparse, build density over time
- Vary loop content: some full, some minimal
- Use silence as a tool
- Create tension and release through layering
- End with something definitive
Monitoring Your Loops
How you hear yourself affects your looping accuracy.
Options:
- Amp speakers (what you play is what you loop)
- Headphones (hear processed signal)
- Both (separate dry and wet monitoring)
Recommendation: Whatever lets you play most accurately.
Troubleshooting Common Issues
Timing Inaccuracy
Loops drift from the beat or feel rushed.
Solutions:
- Use a metronome while recording
- Quantize if your looper has it
- Practice playing in time
- Use shorter loops (harder to drift)
Sound Degradation
Loops sound worse with each overdub.
Solutions:
- Check your signal levels (too hot causes distortion)
- Reduce number of overdubs
- Record at higher quality settings
- Some degradation is normal (analog warmth)
Memory Full
Can't record more overdubs or loops.
Solutions:
- Delete unused loops
- Use shorter loops
- Clear old recordings
- Upgrade to more memory
Latency
Delay between playing and hearing playback.
Solutions:
- This is usually your amp/power issue, not the looper
- Check power supply
- Use true bypass if available
- Monitor directly if possible
Top Loopers for Different Needs
Best Overall: Boss RC-5 Loop Station
The RC-5 combines generous features with intuitive operation. 99 memory slots, rhythm patterns, five hours of total recording, USB connectivity, and Boss's legendary reliability. At around $200, it offers more value than anything else in its class. The rhythm patterns are actually good—not cheesy. Memory management is excellent. USB makes saving and loading loops trivial.
Key specs:
- 99 memory slots
- 5 hours total recording
- Rhythm patterns included
- USB connectivity
- True bypass
Best Simple Looper: TC Electronic Ditto Looper
If you want exactly one thing—a looper that just loops—the Ditto is perfect. Five minutes of looping, true bypass, analog dry-through (your tone stays pure), one knob for feedback. That's it. At under $100, it's the best entry point to looping. Simple enough for beginners, reliable enough for pros who just need basic looping.
Key specs:
- 5 minutes looping
- True bypass
- Analog dry-through
- One control knob
- Affordable price
Best for Performance: Electro-Harmonix 720 Nano Looper
The 720 is different. No memory slots—instead, unlimited overdubs on a single loop. Up to 20 minutes of recording. Loop decay feature lets loops fade naturally. It's the ambient performer's choice. If you want to build and destroy textures in real time, nothing else comes close.
Key specs:
- Unlimited overdubs
- 20 minutes recording
- Loop decay feature
- No memory slots (different paradigm)
Best for Professionals: Boss RC-500 Loop Station
Two simultaneous loops, extensive I/O including XLR with phantom power, MIDI control, expression pedal input. This is a professional instrument, not a toy. If you're performing nightly or recording in studios, the RC-500 delivers the connectivity and features you need.
Key specs:
- Two simultaneous loops
- XLR input with phantom power
- MIDI control
- Extensive I/O
- Professional-grade
Best Budget: Boss RC-1 Loop Station
Simple, straightforward, 12 minutes of recording, basic undo, simple LED display. This is the looper to learn on. When you're ready for more features, you'll know—then upgrade to RC-5 or beyond.
Key specs:
- 12 minutes recording
- Simple operation
- LED display
- Budget price
Getting Started: Your First Loops
First Steps
- Plug in, connect to amp
- Set feedback to middle
- Record 4-8 seconds of simple strumming
- Let it loop
- Listen to how it sounds
- Add one simple layer
- Practice starting/stopping cleanly
Building Confidence
- Practice recording the same phrase until it's perfect
- Practice overdubbing without adding too much
- Practice using undo when you make mistakes
- Practice timing your playing to loop length
Moving Forward
- Add more complex layers
- Try different loop lengths
- Experiment with different genres
- Learn to build complete arrangements
- Practice in time with rhythms or metronome
The Bottom Line
Looper pedals transform what a solo guitarist can accomplish. From simple practice tool to full performance instrument, loopers offer creative possibilities limited only by your imagination. The Boss RC-5 delivers the best balance of features, reliability, and price. The TC Electronic Ditto is perfect for those who want simplicity. The Electro-Harmonix 720 is the choice for experimental performers. Whatever your level or goals, there's a looper that fits—and once you start looping, you'll wonder how you ever performed without one.
Genre-Specific Looping Approaches
Acoustic Singer-Songwriters
Acoustic players use loopers to build complete arrangements around their voice and guitar.
Approach: Start with guitar rhythm. Layer vocal harmonies. Add percussive elements if your looper captures them well. Keep arrangements sparse enough that your voice remains the focus.
Recommended settings: Medium loop length (8-16 seconds). Moderate feedback to prevent buildup. Clean recording—your voice is the star.
Tips:
- Record guitar first, then sing over it
- Leave space in guitar for vocal melody
- Simpler arrangements translate better live
Electronic and Experimental
Electronic musicians treat loopers as sound design tools, creating textures and layers.
Approach: Long loops, lots of effects processing, ambient textures. Build slowly, layer heavily, let sounds evolve. Use loop decay for natural endings.
Recommended settings: Long loop length (20+ seconds). Higher feedback for building textures. Consider processing loops through external effects.
Tips:
- Experiment with everything
- Loop decay features are essential
- Don't rush the build process
Rock and Blues
Rock players use looping for rhythm enhancement and solo performance.
Approach: Driving rhythm loops as foundation. Layer leads and fills. Create momentum through variation. Rock looping tends to be energetic and forward-moving.
Recommended settings: Short-to-medium loops (4-12 seconds). Tight timing. Drum patterns if available.
Tips:
- Keep grooves solid
- Energy builds through addition
- Use dynamics—don't stay at one level
Jazz and Improvisational
Jazz players use looping for exploration and composition.
Approach: Loop chord progressions for solo practice. Layer improvisations over changes. Create call-and-response with yourself. Jazz looping tends to be exploratory.
Recommended settings: Medium-to-long loops (12-20 seconds). Longer for complex changes.
Tips:
- Use loops as a practice tool
- Try different solo approaches over same changes
- Record your improvisations for review
Post-Rock and Ambient
Post-rock uses looping to build massive, emotional walls of sound.
Approach: Start with minimal elements. Build through gradual addition. Create crescendos and swells. Let loops evolve over long periods. This is textural, not rhythmic, looping.
Recommended settings: Very long loops (30+ seconds). High feedback for infinite sustain. Consider decay features.
Tips:
- Patience is essential
- Let each layer breathe
- Build to emotional peaks
Advanced Looper Features Explained
Quantize
Automatically aligns loop start/stop to musical divisions (beats, bars).
How it works: When you press stop, the looper adjusts the loop length to the nearest beat or bar boundary.
When to use: When your timing isn't perfect but you want loops that lock together.
When to avoid: When you want precise, manual control of loop boundaries.
Loop Copy/Delete
Copy a loop to another memory slot. Delete loops.
How it works: Some loopers let you duplicate loops or move them between slots.
When to use: Building variations on a theme. Organizing your performance.
Loop Fade/Decay
Loops naturally fade to silence over time rather than cutting off abruptly.
How it works: When you stop the loop, it doesn't end abruptly—it fades out over several seconds.
When to use: Ambient and experimental playing. Creating natural endings.
Reverse
Play loops in reverse.
How it works: The looper flips the audio, creating mirror-image playback.
When to use: Experimental textures. Adding variety to repeated sections.
Speed Change
Change playback speed without changing pitch (or with pitch change).
How it works: Slow down or speed up loops. Some preserve pitch, others don't.
When to use: Creating variations. Learning difficult passages slowly.
Sync Out/In
Synchronize multiple loopers or loop with other devices.
How it works: One looper controls the clock, others follow.
When to use: Two-guitar performances. Complex setups with multiple musicians.
Pedalboard Integration
Power Requirements
Loopers generally need 9V DC, but current draw varies:
- Simple loopers: 50-100mA
- Advanced loopers with displays: 100-200mA
- Make sure your power supply can handle it
Space Considerations
- Simple loopers: Standard pedal size
- Advanced loopers: Often larger, sometimes double-width
- Consider your board layout
Expression Pedal Control
Some loopers accept expression pedals for:
- Volume control
- Feedback adjustment
- Loop scrolling
- Rate/speed control
MIDI Integration
For advanced setups, MIDI enables:
- Memory switching
- Sync with other MIDI devices
- DAW control
- Foot controller operation
Care and Maintenance
Keeping Your Loops Clean
- Review loops periodically and delete unused ones
- Back up important loops via USB if available
- Factory reset occasionally to clear glitches
Updating Firmware
Many modern loopers have updateable firmware:
- Check manufacturer websites periodically
- Follow update instructions carefully
- Don't interrupt the process
Physical Care
- Keep the pedal clean
- Avoid extreme temperatures
- Use the included power supply if possible
Common Mistakes to Avoid
Over-Layering
Adding too many overdubs makes loops muddy and confused.
Solution: Stop adding layers before you think you should. Leave space.
Timing Slop
Not paying attention to timing makes loops feel loose and unprofessional.
Solution: Practice with metronome. Use quantize features. Record less until your timing improves.
No Planning
Jumping in without a plan leads to disjointed performances.
Solution: Have an idea what you're building before you start. Even a loose plan helps.
Ignoring Dynamics
Static, one-level performances get boring.
Solution: Build and release tension. Use silence. Vary your approach.
Fear of Mistakes
Being afraid to make mistakes prevents experimentation.
Solution: Use undo freely. Mistakes often become creative opportunities.
The Looper Mindset
Practice vs. Performance
Looping in practice is for learning. Looping in performance is for presenting.
- Practice: Experiment freely, make mistakes, learn
- Performance: Present your best work, planned and practiced
The Art of Letting Go
At some point, you have to let your loop go. Don't over-practice a performance loop to death.
Creating Space
Silence is as important as sound. Not every moment needs to be filled.
Iteration and Improvement
Your first loops won't be your best. That's fine. Iterate, improve, keep building.
Final Recommendations
For most players starting out: Boss RC-5 or TC Electronic Ditto
For those wanting simplicity: TC Electronic Ditto
For those wanting features: Boss RC-5
For ambient/experimental: Electro-Harmonix 720
For professional use: Boss RC-500
Remember: The best looper is the one you'll actually use. Start simple, upgrade when you need more features.
Live Looper Price Index
UK & European retailers • Updated daily
| Pedal | Style | Country | Price |
|---|---|---|---|
| Boss RC-1 Loop Station | Phrase | Japan | €112 |
| Boss RC-500 Loop Station | Phrase | Japan | €288 |
| Boss RC-5 Loop Station | Phrase | Japan | €205 |
| Chase Bliss Mood | Lo-fi | USA | — |
| Chase Bliss Onward | Sampler | USA | — |
| DigiTech JamMan Solo HD | Stereo Looper | China | €189 |
| DigiTech Trio+ | Band Creator | China | €259 |
| Electro-Harmonix 360 Nano Looper | Phrase | USA | €121 |
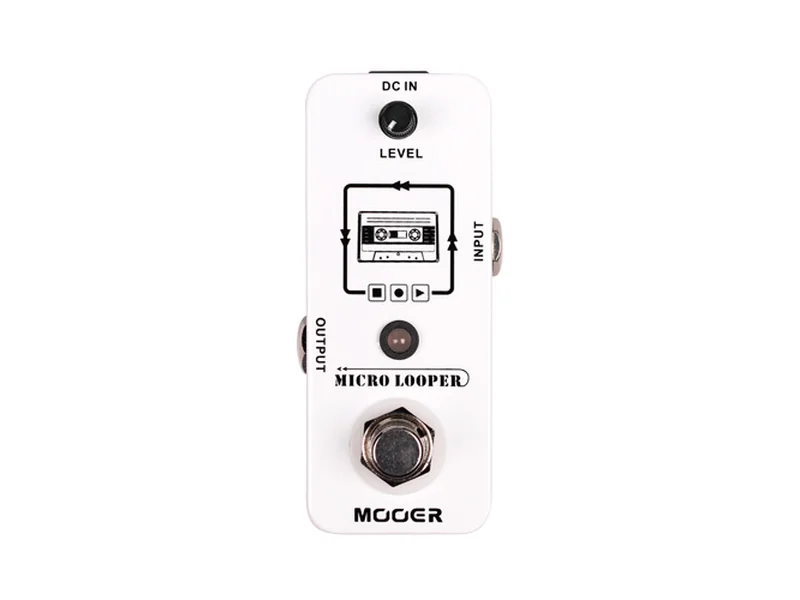
| Mooer Micro Looper | Looper | China | €84 |
| TC Electronic Ditto Looper | Phrase | Denmark | €66 |
| TC Electronic Ditto Plus Looper | Standard | Denmark | €83 |
| TC Electronic Ditto X4 Looper | Dual Track | Denmark | €163 |
Browse All Looper Pedals
RC-1 Loop Station
RC-500 Loop Station
RC-5 Loop Station
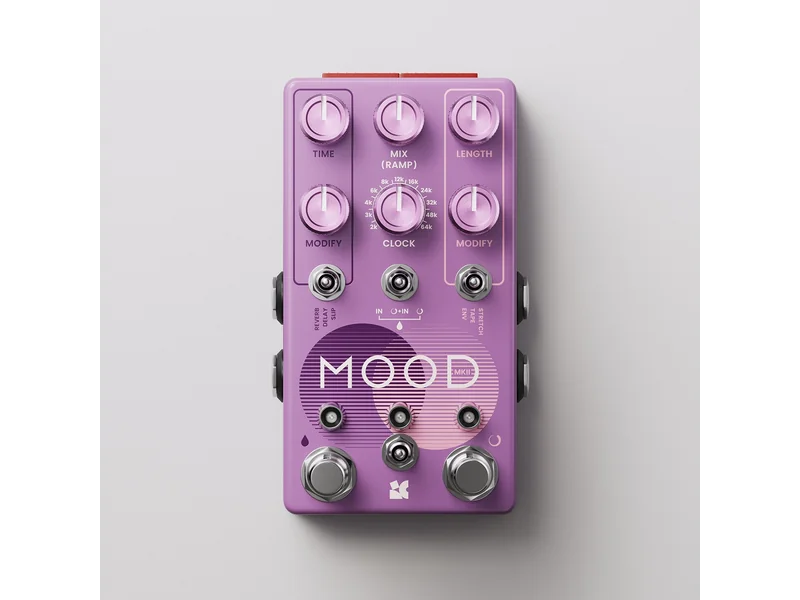
Mood
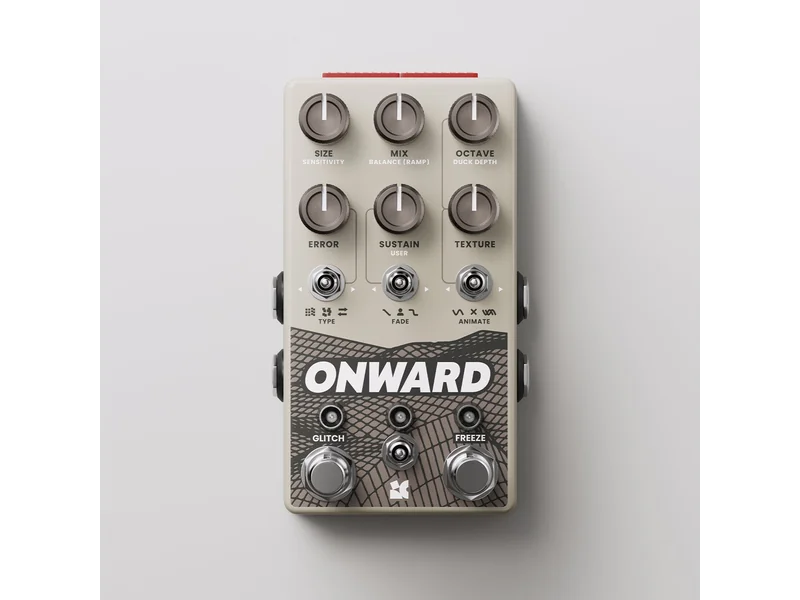
Onward
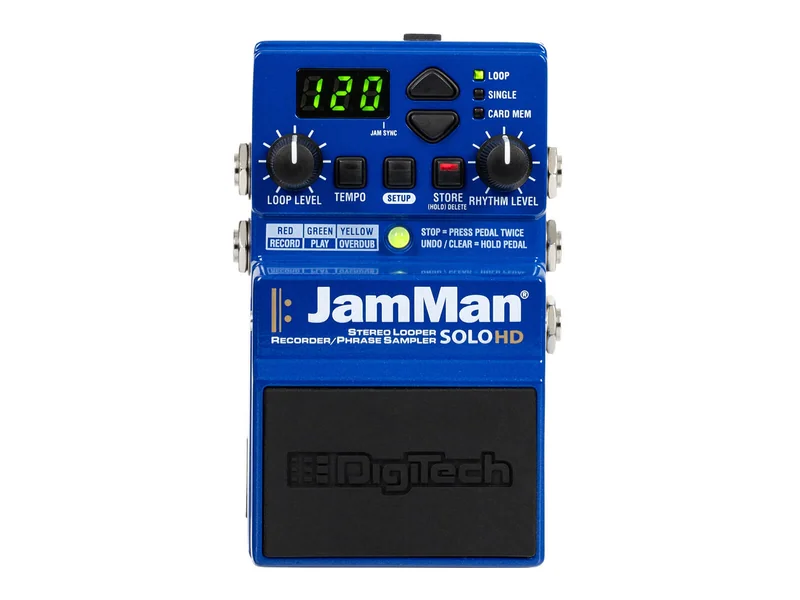
JamMan Solo HD
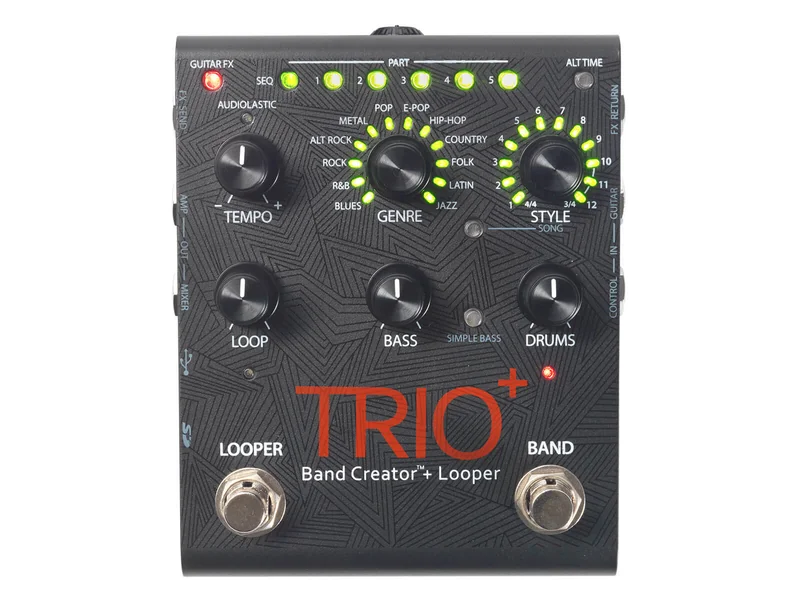
Trio+
360 Nano Looper
Micro Looper

Ditto Looper

Ditto Plus Looper